Thank you for considering the Universal College Application® for first year and transfer admissions!
Before you begin the online admissions process, please read the instructions below.
Applicant Profile:
The first step in the application process after registration is completing an applicant profile . Your applicant profile contains basic information about you and your background. Any forms you start that require this information will automatically pre-fill with the answers from your applicant profile . Completing your profile saves you the time it would take to fill out basic information for each form.
Checklist:
The Checklist allows you to quickly check the status of all your forms at a glance. It provides the real time submission status of your applications, supplements, additional forms, and payment (if the college accepts online payment through the UCA℠).
Click show more for a specific college to view the detailed progress for that college.
My Colleges:
The My Colleges page allows you to browse through all the UCA member colleges by term, application type, and decision plan. Here you will be able to add and remove colleges that you are applying to. Be sure that you select the appropriate application type (First-Year or Transfer) for your academic status, as you cannot change these after the college is added.
You can learn more about each college by clicking on the ( ) next to their name. Additional information includes:
- Contact Information
- Privacy Policy
- Additional Requirements
- Required Tests
Application:
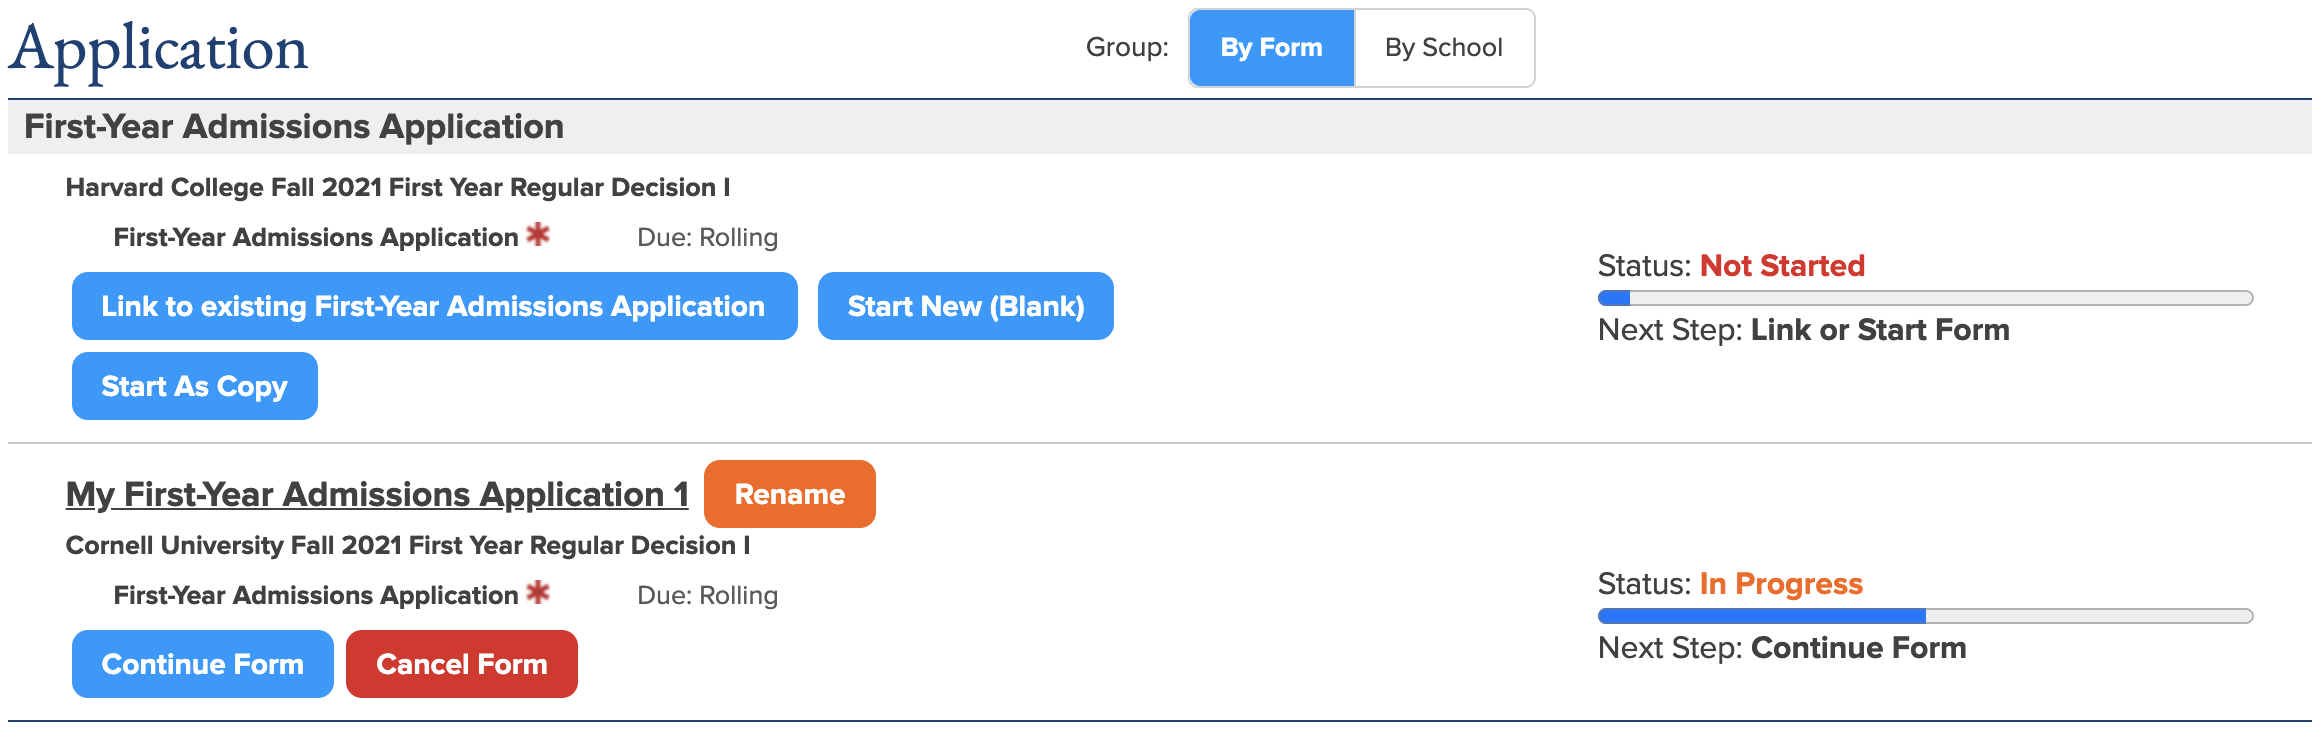 The
Application
page contains the application forms required by the colleges you have added on your
My Colleges
page. Clicking
Start New
will start a version of the application form for every college you have added. If you wish to submit a
different version of the form to a particular college, you can separate that application copy by clicking
the
Unlink
button.
The
Application
page contains the application forms required by the colleges you have added on your
My Colleges
page. Clicking
Start New
will start a version of the application form for every college you have added. If you wish to submit a
different version of the form to a particular college, you can separate that application copy by clicking
the
Unlink
button.
First Year Applicants will complete the First Year Admissions Application. Transfer Applicants will complete the Transfer Admissions Application. Please note that progress made on a First Year Admissions Application cannot be transferred to or from a Transfer Admissions Application because they have separate requirements.
Some colleges require the Personal Statement or essay portion of these forms. To see if a college requires the essay, click the ( ) next to their name on the My Colleges page.
Supplements:
The Supplements page contains all the supplemental forms required by the colleges that you have added on your My Colleges page. Please note that each college’s Part 2 forms are specific to that college so they cannot be linked to other colleges, and not every college will require a supplement.
School Forms:
The School Forms page contains all the recommendation and report forms required by the colleges that you have added on your My Colleges page. You cannot complete your own recommendation and you can only send the recommendation requests through the system. Please note that each college may require different Part 3 forms and some may not require any at all.
First Year Applicants will be able to request the Instructor Recommendation, School Report, Midyear Report, and the Final Report as well as the Early Decision Agreement or First Marking Period Report when applicable. Transfer Applicants will be able to request to the College Report and Professor Recommendation.
To request your teacher, professor, counselor, or college official to complete these forms, use the Request button and enter their name and email. This page and the Checklist will update automatically as the forms are completed.
Payment:
The Payment page provides access to online payment links and fee waiver forms for those colleges that require an application fee. If a college accepts online payment through the UCA, this is the simplest and most secure method of paying your application fee.
My Advisers:
The My Advisers page allows you to invite one or more advisers to help monitor progress on your applications. Inviting an adviser to access your checklists will give them the ability to view the status of all your forms; they will not be able to read or edit the forms. You may invite an adviser or revoke access from an adviser at any time during the application process.
Thank you for considering the Universal College Application and best wishes applying! If you have any questions, please visit the Help page after registration.